
Starting a new business is exciting—but it’s also a long to-do list of branding decisions, operational details, and customer-facing touchpoints. One of the fastest ways to build credibility and attract the right customers is through strong signage. Your sign tells people where you are, what you do, and why they should trust you—often within seconds.
However, signage is more than “put up a board and go.” If you skip planning, you may face misprints, poor visibility, landlord issues, permit delays, installation problems, or signs that need replacement too soon. That’s why you need a practical New Business Signage Checklist—from planning to final approval and long-term maintenance.
1) Planning & Requirements (Start With Clarity)
Before you order anything, you need clarity on what signage must accomplish.
Define your brand and sign basics
– Finalize your business name exactly as it should appear publicly (including spelling and punctuation).
– Confirm your tagline (if you have one).
– Prepare your ogo in the correct formats (vector preferred: AI, EPS, PDF, SVG).
– Decide on your brand colors and how they’ll appear on the final signage (especially if your sign is reflective or backlit).
Identify every sign location you’ll need
Walk your customer route (or imagine it). Typical sign locations include:
– Exterior storefront sign (main identity)
– Door/entry sign (name + “welcome” or entry instructions)
– Window decals or posters (branding + promotions)
– Interior direction signs (if you have multiple rooms/levels)
– Hours & contact plaque (often near the entrance or reception)
– Parking or access signage (if you share space or have a dedicated entrance)
Checklist tip: If people can’t easily find you from the street, your signage has failed its primary job.
Research regulations and approvals
Even the best-designed sign can get delayed if you don’t meet requirements.
– Check for local sign regulations (size, illumination, placement, materials).
– If you’re in a shared building, confirm landlord/HOA rules and obtain written approval.
– If you’re dealing with permitted electrical signage, confirm wiring requirements and inspection needs.
Where applicable: Consider accessibility standards (such as height and contrast) so customers—including people with disabilities—can read your sign.
Measure your installation sites
This is where many signage projects go wrong. Get accurate measurements:
– Wall or glass dimensions
– Door dimensions and viewing angles
– Mounting distances and “line of sight” from sidewalks/approach paths
– Surface condition (paint quality, roughness, moisture issues)
Checklist tip: A sign that fits a design mockup can still fail in real life if measurements are off by even a few millimeters.
2) Design & Content Finalization (Make It Readable, Not Just Beautiful)
Design should serve visibility and brand trust. Great aesthetics matter—but legibility matters more.
Confirm the content you’ll display
Before production, make sure your sign text includes accurate details:
– Business name (correct spelling)
– Service keywords (optional but powerful: “Repairs,” “Consulting,” “Catering,” etc.)
– Phone number (and make sure it’s the exact number you want)
– Website URL and/or QR code
– Email (if used)
– Opening hours (only if you can keep them updated)
Checklist tip: If you change phone numbers or business hours frequently, consider including a QR code to a page you can update quickly.
Choose the right typography strategy
Your sign fonts should be:
– Large enough to read from expected distances
– High-contrast (dark on light or light on dark)
– Consistent with your overall brand
– Not overly decorative (unless the sign is purely for stylized branding with close viewing)
Ask your signage provider to advise on font weight and spacing for your specific placement.
Select suitable materials and finishes
Different materials suit different locations:
– Vinyl lettering/decals: Great for windows and glass; easy updates
– Acrylic or 3mm/5mm sign boards: Clean, modern look; good for internal signage
– Metal signs: Durable and premium for exterior use
– Glass lettering: Stylish, professional, and long-lasting
– Backlit/illuminated signs: High visibility, especially at night (but require electrical compliance)
Checklist tip: Match the material to weather conditions and cleaning practices in your environment.
Prepare production-ready artwork
Before your sign goes to fabrication:
– Confirm artwork dimensions match site measurements
– Ensure safe margins (no important text cut off)
– Confirm color profiles (especially if the sign uses printing)
– Double-check mirrored text for window decals (if applicable)
– Review final proofs and approve in writing
Checklist tip: A proof review is where you prevent costly reprints.
3) Procurement & Production Setup (Avoid Delays)
Once design is approved, you enter procurement and production—where timelines can make or break your launch date.
Choose a signage vendor
Look for a vendor that can handle the full workflow:
– Design support
– Fabrication
– Installation (or coordination)
– Proofing and quality control
– Maintenance guidance
Ask for examples of similar signage projects and whether they offer installation warranties.
Confirm lead times for each stage
Signage projects can take time due to approvals and production capacity.
– Permitting lead time (if required)
– Fabrication lead time
– Delivery time
– Installation scheduling availability
Set realistic launch timelines:
– Order early enough to handle proof revisions
– Plan installation for when the premises are ready (clean walls, access to power if illuminated)
Decide if you need spares
For future reliability:
– If you’re placing multiple window decals, consider ordering extras of the most common elements.
– For modular systems (like removable panels), confirm you can reorder specific components later.
4) Permits & Compliance (Reduce the Risk of Rework)
Even if your signage is “small,” approvals can still be required depending on your location and building rules.
Prepare documents and approvals
– Submit permit applications (if applicable)
– Provide drawings or photos of the installation site
– Include sign dimensions, materials, and illumination details
– Keep copies of approvals for reference
Confirm compliance for electrical signage
If your signage is illuminated:
– Confirm wiring safety and required certifications (as applicable)
– Ensure the install method matches electrical standards
– Ask the provider about maintenance for the lighting system
Checklist tip: if you wait until installation day to resolve compliance issues, you risk last-minute cancellations and lost revenue.
5) Installation Readiness (Get Your Space Ready)
Installation is not just “show up and stick.” A proper installation protects the structure, ensures durability, and produces a clean finish.
Inspect the installation surfaces
– Walls: flatness, paint condition, dryness
– Glass: cleanliness, residue removal needs
– Doors/metal: rust check, surface prep requirements
Confirm mounting plan and hardware
Ask:
– How will the sign be mounted?
– What anchors/standoffs will be used?
– Will there be drilling? If yes, confirm landlord permission.
Confirm access and logistics
– Installation time window
– Parking/loading rules
– Who will grant access?
– Who will be responsible for sign-off after installation?
Protect the premise
A professional installation protects your property:
– Use floor protection
– Mask off areas if needed
– Ensure cleanup is included
6) Installation & Quality Check (Don’t Skip the Inspection)
Before payment and closure, do a thorough quality check.
Verify placement and alignment
– Does the sign match the approved measurements?
– Is it centered, level, and aligned with brand guidelines?
– Does it sit at the right viewing height?
Inspect for physical defects
– Scratches or dents
– Poor adhesion (peeling edges)
– Air bubbles or wrinkles (for vinyl)
– Loose fixtures
– Inconsistent spacing between letters
Confirm color accuracy and brightness
If your sign is printed or backlit:
– Confirm colors match approved proofs
– Confirm brightness is not too harsh or too dim
– Check night visibility and glare (if illuminated)
Test QR codes and links
This is often overlooked:
– Scan QR codes using multiple phones
– Ensure the landing page loads fast and displays correctly
– Confirm links go to the right contact page, menu, or booking form
Checklist tip: A sign that looks perfect but links to the wrong page wastes marketing opportunities.
Take photos for records
Before cleanup and after cleanup:
– Capture installation images for future reference
– Record sign placement details and serial/production info if available
7) Post-Install Verification (Make Sure It Works in Real Life)
After installation, step back and test signage from the customer perspective.
Check visibility from key distances
Stand:
– From the street (if exterior)
– From the entrance approach
– From typical customer walking paths
Ask:
– Is it readable quickly?
– Does it look “professional” at first glance?
– Can people identify your business type immediately?
Check readability in different lighting
– Daytime legibility
– Nighttime visibility (especially for illuminated signs)
– Any glare or reflection issues on glass
Confirm hours and contact information
– Are hours clearly visible?
– Are phone number and email correct?
– Are QR codes updated with the latest content?
8) Maintenance & Replacement Plan (Protect Your Investment)
Signage is an investment. A maintenance plan extends its life and keeps your brand looking consistent.
Cleaning schedule
Depending on materials:
– Vinyl decals: gentle cleaning methods to avoid peeling
– Acrylic/plastic: avoid harsh solvents that can cloud surfaces
– Metal: wipe down to prevent corrosion in humid areas
– Illuminated signs: periodically check brightness and electrical stability
Keep design files and approvals
Save:
– Final artwork files
– Proofs (approved mockups)
– Sign dimensions and installation notes
– Vendor documents or installation warranty details
Create an update workflow
When you change:
– Business hours
– Promotions
– Phone numbers
– Menu items
Make sure signage updates are planned with minimal disruption:
– Identify what can be replaced quickly (like decals or inserts)
– Decide who handles reorders and installation
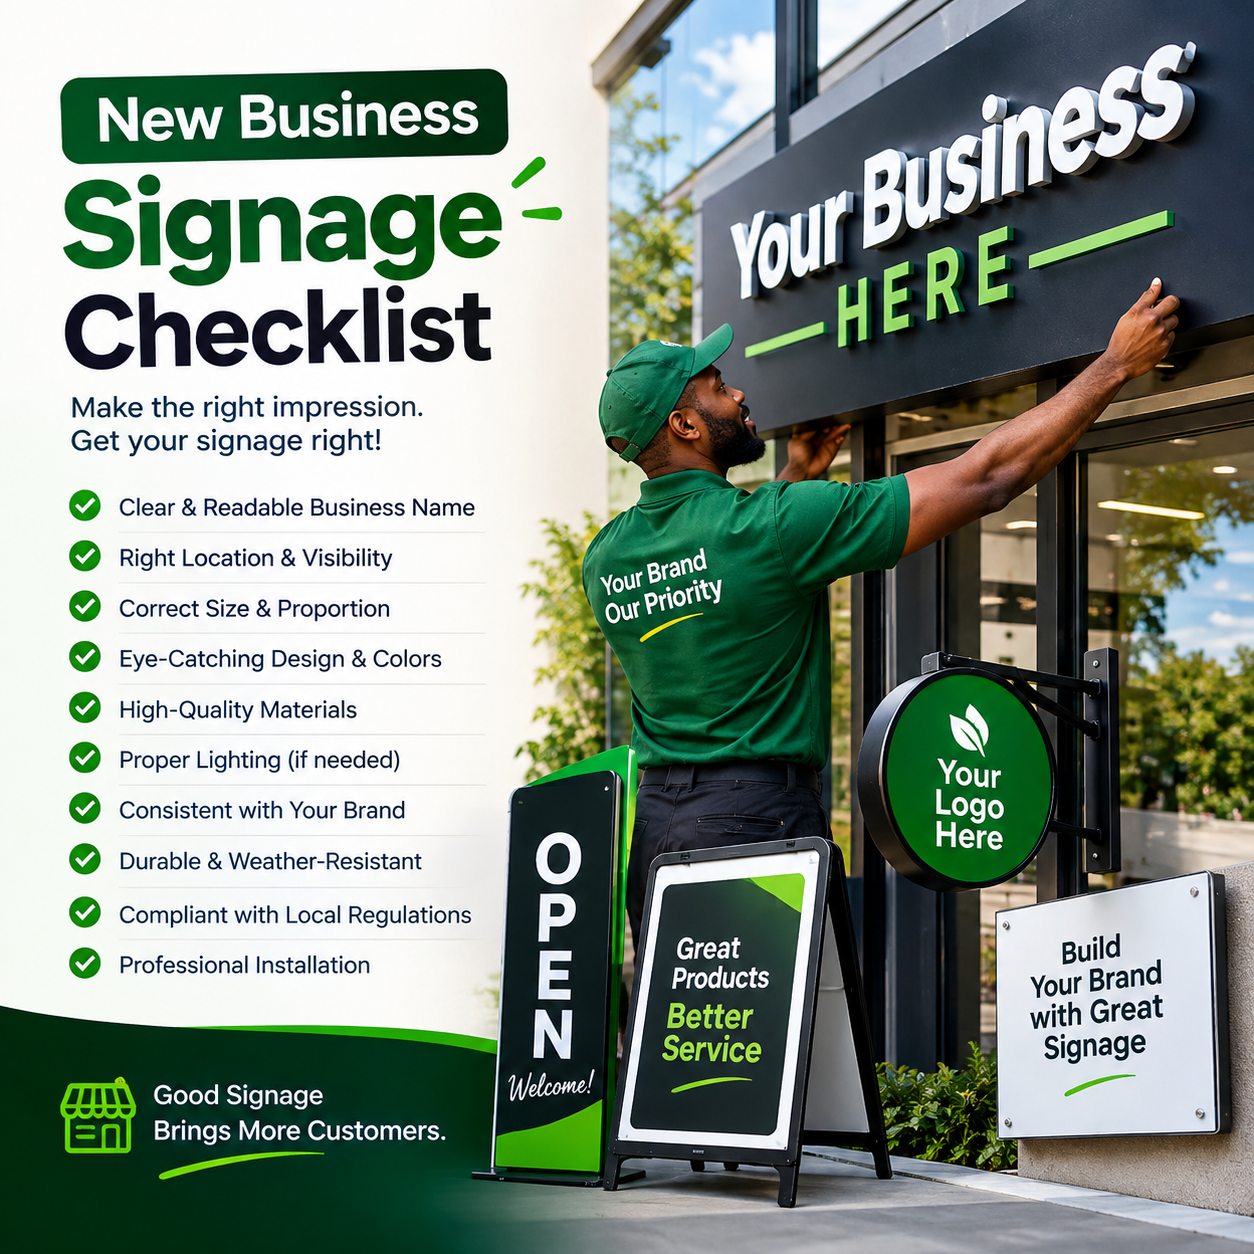
– Brand name, logo, tagline finalized
– Sign locations identified and measured
– Materials selected for each location
– Text and contact details verified
– Proofs reviewed and approved
– Permits/landlord approvals handled (if required)
– Installation schedule confirmed
– Installation inspected: alignment, adhesion, color, defects
– QR codes tested
– Visibility checked day and night
– Maintenance plan created and records saved
Launching a new business is already stressful—so your signage provider should make the process easier, not harder. SignFix Industrial Limited is a strong partner for signage because you can rely on the practical fundamentals that matter most in real projects: correct design execution, durable materials, production attention to detail, and installation that matches the customer’s location requirements.
When you work with SignFix, you get a partner focused on making your brand look professional from day one—so your signage doesn’t just “exist,” it performs: clearly visible, properly installed, and aligned with your marketing goals.